As we wind down the woodworking section, we have looked at power tools and hand tools, we have learned how to square a board, we have done riping and cross-cutting on the table saw, made tenons on the router table, used the scroll saw to duplicate a back splat for a chair, we've hand cut tenons, made usable cutting boards and now we are looking at veneer patching.
 There are a number of ways to patch veneer, in Spot Repair I, we learned how to do burn-in's, in Spot Repair II we learned that we could do a polyester fill, now we look at replacing wood with wood. This gives us our grain and texture back, if the piece should ever be stripped, there will be wood there, and it gives us another tool we can use to solve problems. Even within the veneer patch, there are a few different techniques, you could cut a uniform shape into the veneer and replace the missing piece with a new piece of veneer, scarfing the joint to feather in the new wood. If you have the piece of veneer that came off you can re-glue it.
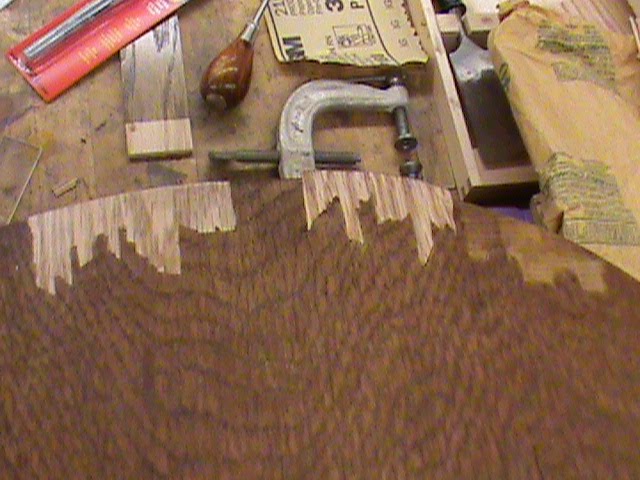 You can also cut your new veneer with a jewelers saw and fit it into the existing gap, while not loosing any original wood or finish. Once you have put all the new pieces in, it is a matter of an accurate color match and top coat and you can have a very nice repair on any veneered surface.